Embedding LINGO Models in Excel

Contents
LINGO is capable of functioning as an OLE server. This means you can embed a LINGO model in any application that can function as an OLE container. Excel is one such application. Embedding a LINGO model into Excel is convenient in that the LINGO model is always immediately available once the spreadsheet is opened. You don't have to worry about also starting LINGO and finding the correct LINGO model that corresponds to the spreadsheet.
To embed a LINGO document in an Excel file, select the Excel command Insert|Object. You will be presented with a list of embeddable objects available on your system. Select the LINGO Document object from this list as shown here:
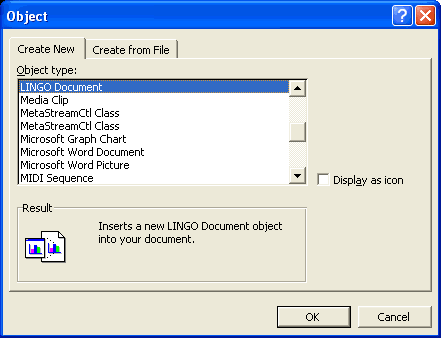
Click the OK button and a blank LINGO model window will be embedded within the spreadsheet. You can enter text directly into this window just as you would in LINGO, or you can paste it in from another application. When you save the Excel sheet, the embedded LINGO model will automatically be saved with it. Similarly, whenever you read the sheet back into Excel, the embedded LINGO model will be restored, as well.
To illustrate this feature, we will continue with the staffing model introduced in Using Sets. The spreadsheet will contain the data for the model, and it will also contain an embedded LINGO model to perform the optimization and install the solution back into the spreadsheet. This example may be found in the spreadsheet file SAMPLES\STAFOLE2.XLS. If you load this sheet into Excel, you should see the following:
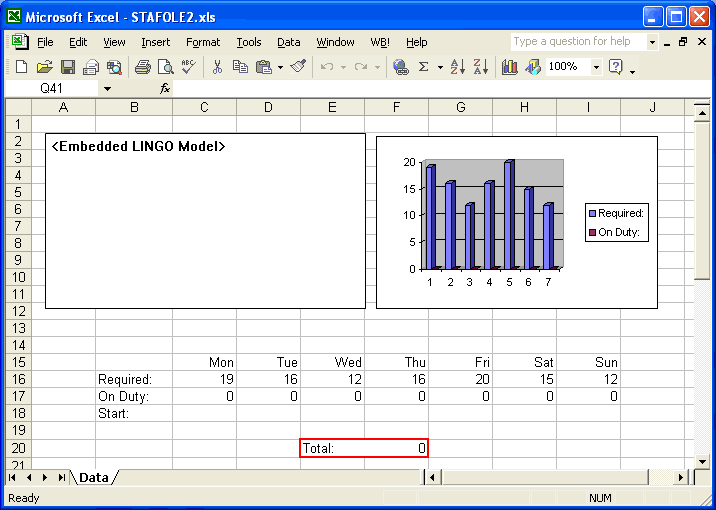
Spreadsheet: STAFOLE2.XLS
As in the previous example, the staffing requirements are in the range C16:I16. This range has been titled REQUIRED. The range C18:I18 has been assigned the name START and will receive the solution after the model is solved. In the upper right-hand corner of the sheet, we have defined a graph to help visualize the solution.
In the upper left corner, there is a region labeled <Embedded LINGO Model>. This region contains a LINGO model that will solve the staffing model and place the solution values into the spreadsheet. If you double-click on this region, you will be able to see the model:
Spreadsheet: STAFOLE2.XLS
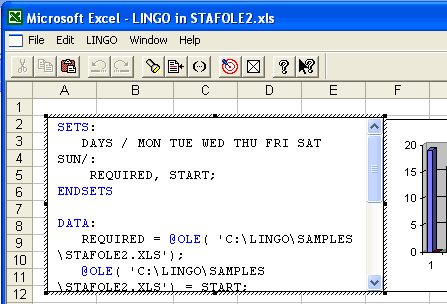
Note, when this LINGO model is active, the LINGO menus and toolbar replace the Excel menus and toolbar. Thus, when working with an embedded LINGO model in Excel, you have all the functionality of LINGO available to you. When you deselect the LINGO model, the Excel menus and toolbar will automatically become available once again. This begins to illustrate the power of embedded OLE--it allows the user to seamlessly combine the features of two or more applications together as if they were a single, integrated application.
You can drag the lower right-hand corner of the LINGO model region to expose the contents of the entire model:
SETS:
DAYS / MON TUE WED THU FRI SAT SUN/:
REQUIRED, START;
ENDSETS
DATA:
REQUIRED =
@OLE('C:\LINGO\SAMPLES\STAFOLE2.XLS');
@OLE( 'C:\LINGO\SAMPLES\STAFOLE2.XLS')
= START;
ENDDATA
MIN = @SUM( DAYS: START);
@FOR( DAYS( J):
@SUM( DAYS( I) | I #LE# 5:
START( @WRAP( J - I + 1, 7)))
>= REQUIRED( J));
@FOR( DAYS: @GIN( START));
Once again, we are making use of our familiar staff scheduling model. The main feature to note is that we are using two instances of the @OLE function. The first instance gets the staffing requirements from the spreadsheet. The second sends the solution back to the START range.
To solve the model, double-click on the region containing the LINGO model. The LINGO command menus will become visible along the top of the screen. Select the Solver|Solve command. After LINGO finishes optimizing the model, it will return the solution to the sheet and we will have:
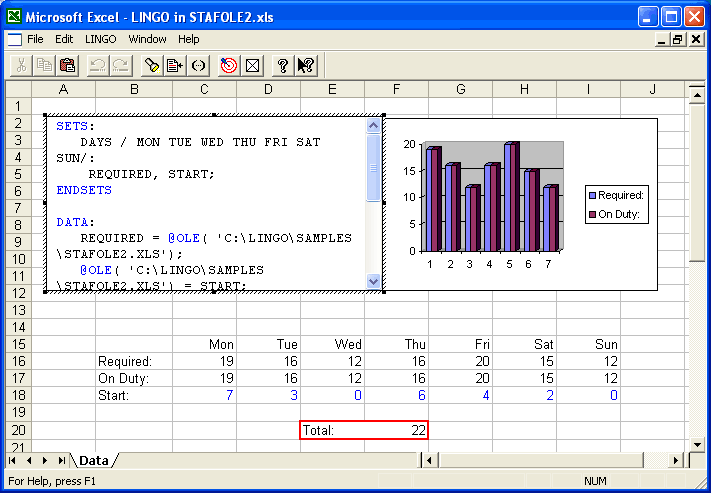
Spreadsheet: STAFOLE2.XLS